Friday 13 January 2012

6thscale 101 - part 3

Now to dirty up boots by brushing dry and wet pastel.
Before weaving pouch to vest,rub some pastel on vest with your finger.
Try to mix variation of dark and light shades.You can get this done up in less than 5 minutes.
Refer to photo to map out where you want the pouches to be.
Take your time and be patient when comes to weaving pouches.In between take a break or two as at times it can be frustrating but the end result is really worth it.
When putting on the vest,try to pull down the front portion as low as possible.
It will look more natural and also to reflect weight from front pouches pulling it down.
Once everything in order,rub some pastel all over the pouches for quick weathering.
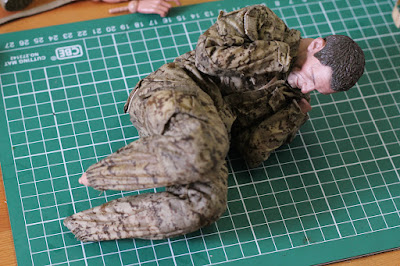
When putting on helmet it's a lot more easier if you just dislodge HS from body.
First you need to determine helmet size.
If helmet is too big,put on the padding that comes with it.If you decide to use a different HS that is slightly larger,you can afford not to use the padding.
Usually I loosen straps on helmet a bit so it's easier to manage the comm set and chin strap. 
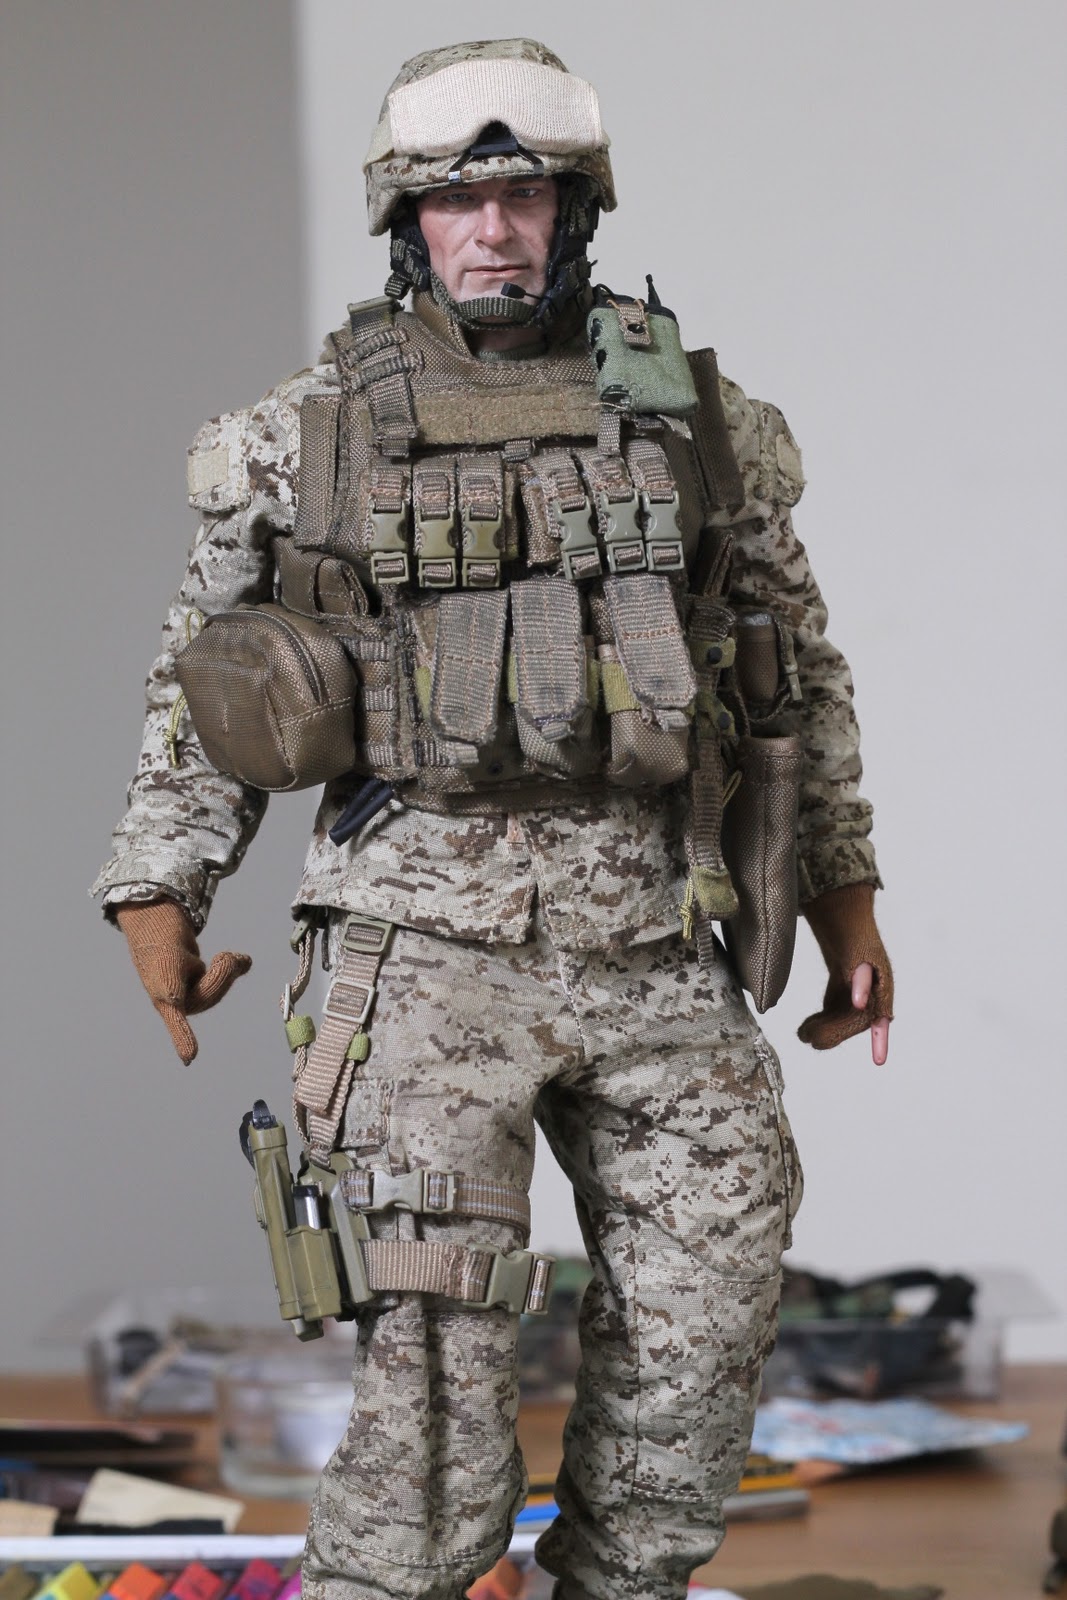
So far so good.Now it's time to put on all the small accessories.
All in not counting the wet BDU portion,it takes around 4 to 5 hours to complete this figure.


Tuesday 10 January 2012

6thscale 101 - part 2

Next insert some tissue or cotton to bulge up side pockets.
SS did a great job to include elastic band build into trouser cuffs.Rather than letting it rest above boot,tuck it inside instead.
Use a tweezer to blouse or shape to your liking.
Moving on to glove,from time to time new collectors just ask how to put on gloves.The answer to that is simply be patient.First is to bend the thumb inward and close gaps in between fingers.
You can use talcum powder to slide in the glove a little better.
Once it's slotted,use tweezer or plastic card to push it onto fingers.Take your time.
SS did a commendable job on their clothed glove as it's a lot more easier to put on if to compare with HT or TS.
Due to overworked seamstress in SS factory,I got a defect glove that has no opening for thumb.Bummer!
Moving on to the most indispensable tool in 1/6th scale.Because of small delicate parts it's better to glue whatever attachments needed as it's less stressful during doing intense posing and also to prevent it from coming off after your figure decide to take a stage dive.Lastly to use it for any quick fix on breakage.
Next is some light weathering on pistol.What I have here is soft pastel,tamiya weathering kit,pencil and tamiya wet pastel.
The idea is to dry brush the surface to give it a "used" look.Concentrate on edges and grooves in between parts of the gun.
You can introduce some other color shade so it's not just white.
If dirty is not what you looking at,use a pencil to bring some shin on edges and corners.
For the drop-leg holster,start with darker shade.Dabble pastel over it and follows by brushing.Do it moderately and if something went wrong quickly wipe it off or use a lighter shade to cover it.
Basically work your way from dark to light.Dabble black pastel lightly over edges to give a slight paint rubbed effect.

I believe weathering is something akin to painting in real life,it's not so much of technique per say but kinda like achieving the right balance.So it's totally up to you how you want the weathering to be.

To be continued...

Monday 9 January 2012

6thscale 101 - part 1

Been getting some PMs asking how to put up 1/6th scale military figure.So would like to take this opportunity to show what's the usual routine like when assembling a military figure.Before unboxing your brand new toy,you need to download available photos of the figure to study what goes where.Should it be from manufacturer's website,blog,facebook or forums.
Every photo will give you a better indication as all these military figures DOES NOT come with any kind of manual.But with practice you will soon know how to do it by instinct.
Let's start with the body first.Remove BDU from figure and start trimming excess fabric left on sewing seam.
Be careful not to overdo it,if something goes wrong just quickly use thread and needle to fix it.
By trimming the excess fabric,your BDU will fit a little better and at times due to QC issue you can get unlucky with one that add "thickness" to the overall appearance (Like Very Hot!).
Soak your BDU in water with little detergent on it.Use an old toothbrush to scrub on faded area you want on the uniform.The goal is to give your BDU a little faded appearance so it does not come across spanking new.At times you feel like toning down color contrast with bleach or wash with another color shade like using diluted acrylic.
Next is to bulk up your figure's waist and hip.For some unknown reason most of these figure comes with flat buttock and pants usually a size or two larger on the waistline.So use some foam sheet with double sided tape to bulk these area a bit.
This is optional for this figure but will be useful especially when you have shirt tuck into pants.Recycling the cable tie from packaging tray or any other means so you can secure the T-shirt around waist area.With intense posing the shirt will not comes off the pant and looks a lot neater.
Before your wet BDU is dry,put it back on figure and have it in cringing pose.When your uniform dries up it will hang better on figure and creates natural fabric folds with it.Leave it overnight or use a hair dryer.

To be continued...