Sunday 30 September 2012

DSLR Controller

Another photography related post.This time is about this neat app I love tremendously on my Android tablet.What it does is simply let your smartphone/tablet act as a remote viewfinder and take control of your camera.As of right now this app is only compatible with Canon cameras that can do USB tethering.It cost USD 8.00 on Google Play Store.

All other tethering capture requires PC connection whereas DSLR Controller allow it to be done at the comfort of smaller device.

Here's the link for this great app:
https://play.google.com/store/apps/details?id=eu.chainfire.dslrcontroller&hl=en


It's as straightforward as inserting mini-USB cable to establish connection from camera to tablet.I would also recommend to pick up a longer 2m USB cable so you can have more room to move around as the one supplied by Canon is simply too short.
It allows you to fiddle practically all the camera setting you ever needed and it even does sweet touch screen auto-focus.Once you're done with setting just touch on the aperture-icon to activate capture.
On image preview screen,you can even perform pinch and zoom which is crucial to check on focussing after a taken shot.This apps does not save into your native Android as preview is fully render from camera's memory card.RAW file will take longer duration to render so remember to turn on RAW+Jpeg option so you can have quicker image preview.
And here's the actual shot out from camera.This app really awesome for tabletop photography as you get real time liveview off camera for every adjustment.Should it be in-camera setting, lighting or fine tuning figure pose.Please disregard the varying color shift on all the photos as they are from 3 different sources - canon 550d,sony A300 and Asus Tf101.

Although it cost a bit more and there are some other going out for free on Google Play Store.So far DSLR Controller has the most robust experience and chock-full of features.Highly recommended if your Canon can do USB tethering as you no longer need to second guess by keep going back to camera for all the small tweaks you made.


Next time I'll try to cover another option to do tethering wirelessly.

Sunday 23 September 2012

Seamless Background - Part 2

It's advisable to set the back piece as high as you can afford to go.The reason is to get as much headroom as you can possibly gets.
With the extra headroom your camera can afford to go low angle on your subject.So your framing won't get restricted. 
Here I switch the backdrop orientation.
As you can see it does not gives you much headroom to work.In terms of lighting merits,your subject is closer to background which has higher chance of shadow appearing.If your subject has some distance away from backdrop,shadow won't appear as it will fall onto ground surface.
I was using two bookend which I got from Rm5 thrift store to act as support for a half-cut mounting board(Actually you can use carton boxes as well that can be cut to your liking).The reason for this set-up is to be able to move it anyway I want.Should I need to close in or move it away from camera.
Simple clothes peg to secure backdrop paper/card onto mounting board and board to bookend.Alternatively you can use any other materials to substitue the bookend.Here I used XL-sized clothes peg or it can be L-bracket or even some metal strip/sheet that you can bend.
The main reason I chose the bookend so it can double up as reflector holder which I can move around easily.


Seamless Background - Part 1

Was asked quite a fair bit how to do a seamless backdrop.So here are the quick "how to" steps.
Above is the full set-up.Consist of 2 white cardboard.You may asked how can it be seamless when it's 2 pieces of material.The trick is to have the vanishing point as far away as possible from camera hence I purposely used "portrait" orientation so the joint of 2 cards is not that visible to naked eye.Ideally is a single sheet but that can be a challenge to get such a big piece of card.Unless someone can hook me up a printer that do banner.(For free preferably.)  
Generally I prefer using thin cardboard as oppose to paper.The problem with paper is it can get crisses easily.The brown paper I used for SS Neptune Spear pretty much unusable right now because it got quite crumply. 
Always set your backdrop to the edge facing your camera.The reason is to allow more space  
for you camera to move around.If distance is too far apart you will need a longer focal length lens and you can not close in with your camera.

The glass sheet just a method to get reflection in your shot so it can appear grounded.(Not too happy with my lighting as shadow is interfering with the reflection.Will need to work on it or try out other material.)Edges of glass sheet was taken out in photoshop for the first picture. 

To be continued....

Friday 13 January 2012

6thscale 101 - part 3

Now to dirty up boots by brushing dry and wet pastel.
Before weaving pouch to vest,rub some pastel on vest with your finger.
Try to mix variation of dark and light shades.You can get this done up in less than 5 minutes.
Refer to photo to map out where you want the pouches to be.
Take your time and be patient when comes to weaving pouches.In between take a break or two as at times it can be frustrating but the end result is really worth it.
When putting on the vest,try to pull down the front portion as low as possible.
It will look more natural and also to reflect weight from front pouches pulling it down.
Once everything in order,rub some pastel all over the pouches for quick weathering.
When putting on helmet it's a lot more easier if you just dislodge HS from body.
First you need to determine helmet size.
If helmet is too big,put on the padding that comes with it.If you decide to use a different HS that is slightly larger,you can afford not to use the padding.
Usually I loosen straps on helmet a bit so it's easier to manage the comm set and chin strap. 
So far so good.Now it's time to put on all the small accessories.
All in not counting the wet BDU portion,it takes around 4 to 5 hours to complete this figure.


Tuesday 10 January 2012

6thscale 101 - part 2

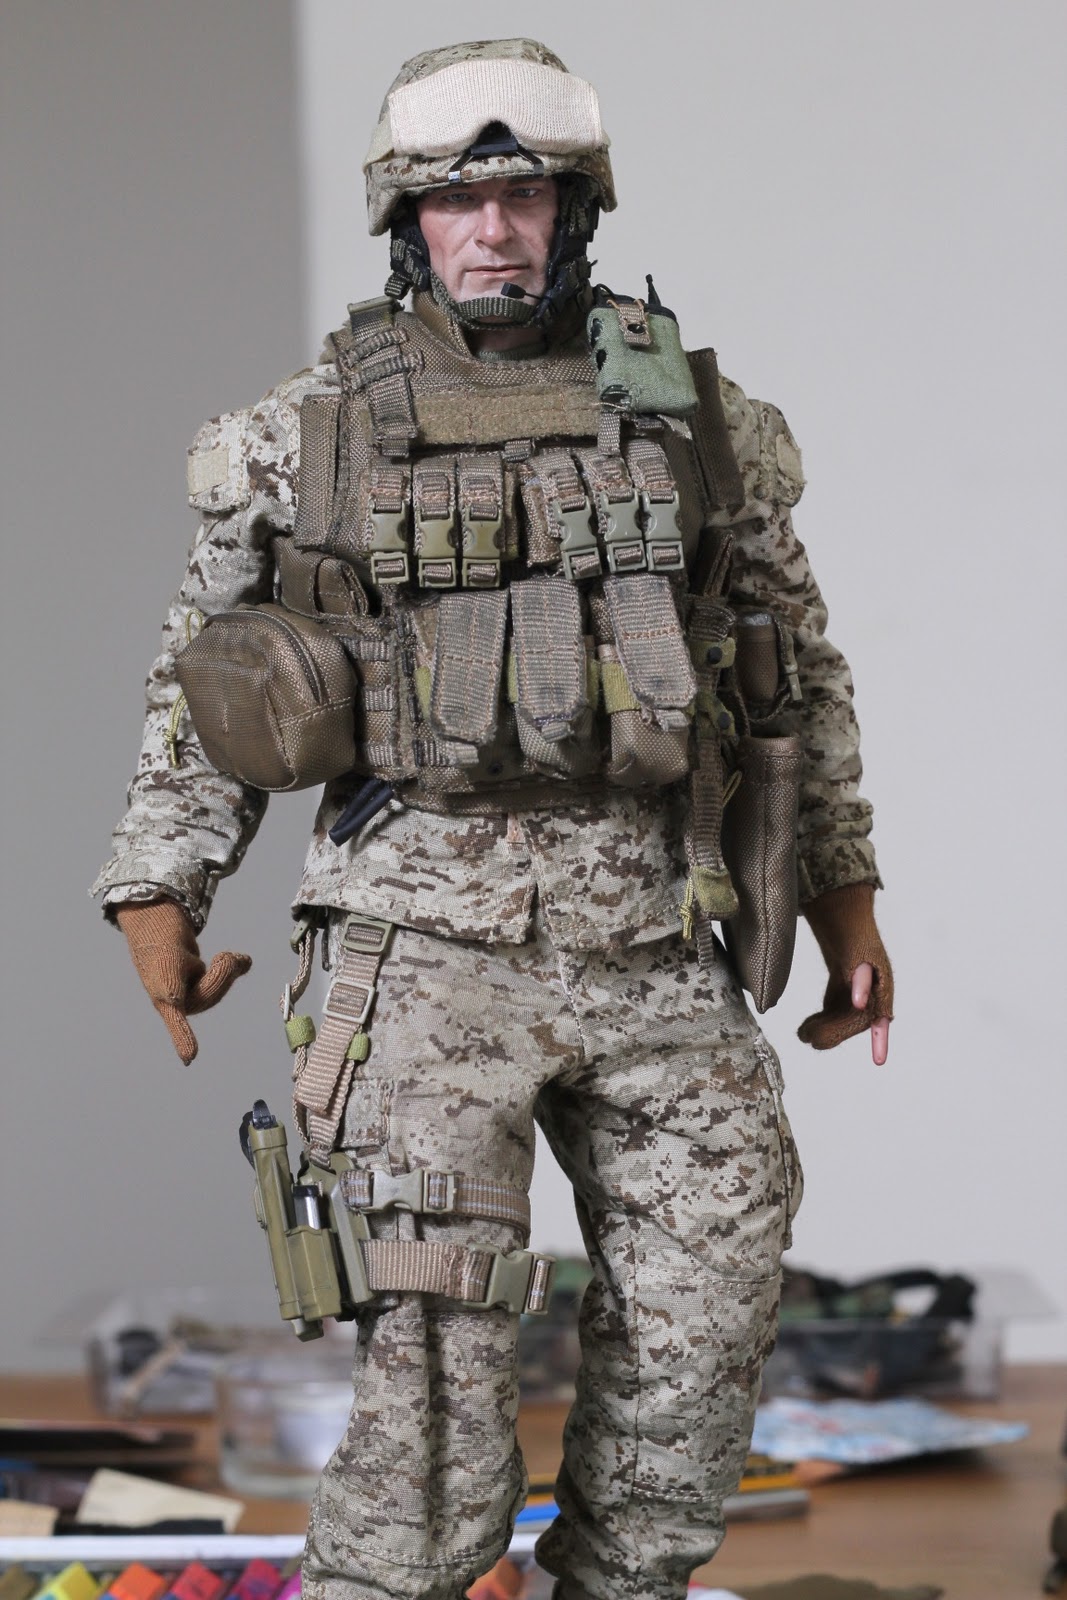
Next insert some tissue or cotton to bulge up side pockets.
SS did a great job to include elastic band build into trouser cuffs.Rather than letting it rest above boot,tuck it inside instead.
Use a tweezer to blouse or shape to your liking.
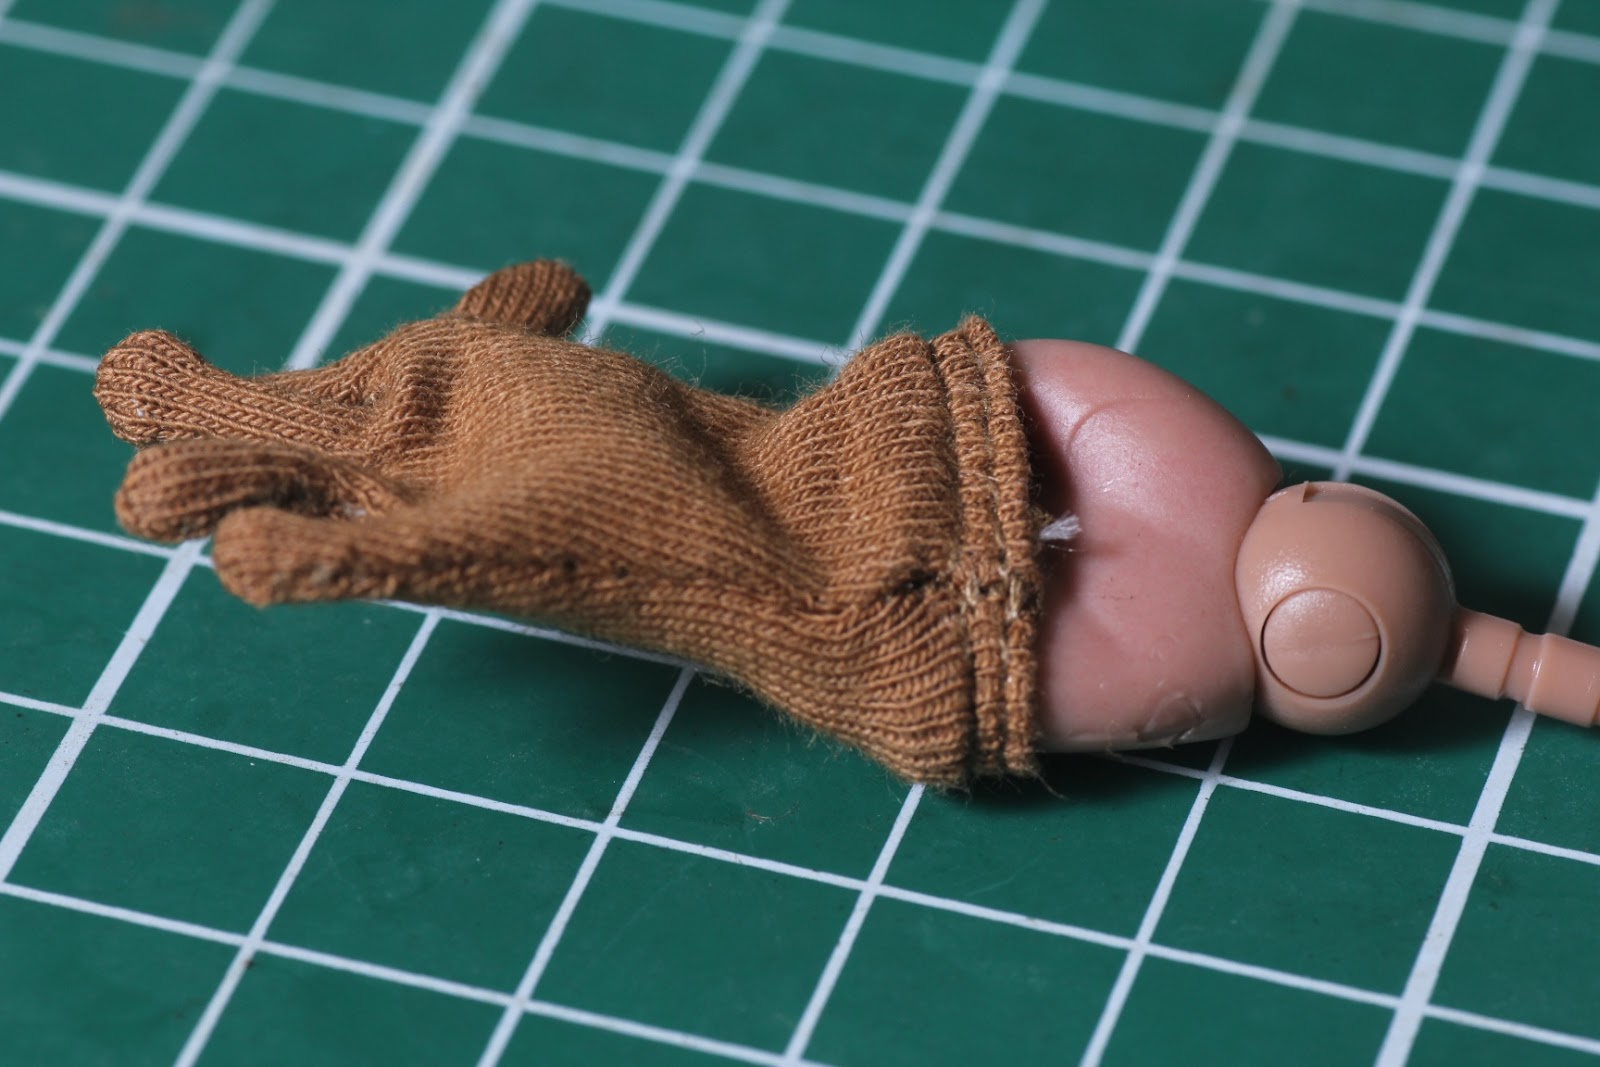
Moving on to glove,from time to time new collectors just ask how to put on gloves.The answer to that is simply be patient.First is to bend the thumb inward and close gaps in between fingers.
You can use talcum powder to slide in the glove a little better.
Once it's slotted,use tweezer or plastic card to push it onto fingers.Take your time.
SS did a commendable job on their clothed glove as it's a lot more easier to put on if to compare with HT or TS.
Due to overworked seamstress in SS factory,I got a defect glove that has no opening for thumb.Bummer!
Moving on to the most indispensable tool in 1/6th scale.Because of small delicate parts it's better to glue whatever attachments needed as it's less stressful during doing intense posing and also to prevent it from coming off after your figure decide to take a stage dive.Lastly to use it for any quick fix on breakage.
Next is some light weathering on pistol.What I have here is soft pastel,tamiya weathering kit,pencil and tamiya wet pastel.
The idea is to dry brush the surface to give it a "used" look.Concentrate on edges and grooves in between parts of the gun.
You can introduce some other color shade so it's not just white.
If dirty is not what you looking at,use a pencil to bring some shin on edges and corners.
For the drop-leg holster,start with darker shade.Dabble pastel over it and follows by brushing.Do it moderately and if something went wrong quickly wipe it off or use a lighter shade to cover it.
Basically work your way from dark to light.Dabble black pastel lightly over edges to give a slight paint rubbed effect.

I believe weathering is something akin to painting in real life,it's not so much of technique per say but kinda like achieving the right balance.So it's totally up to you how you want the weathering to be.

To be continued...